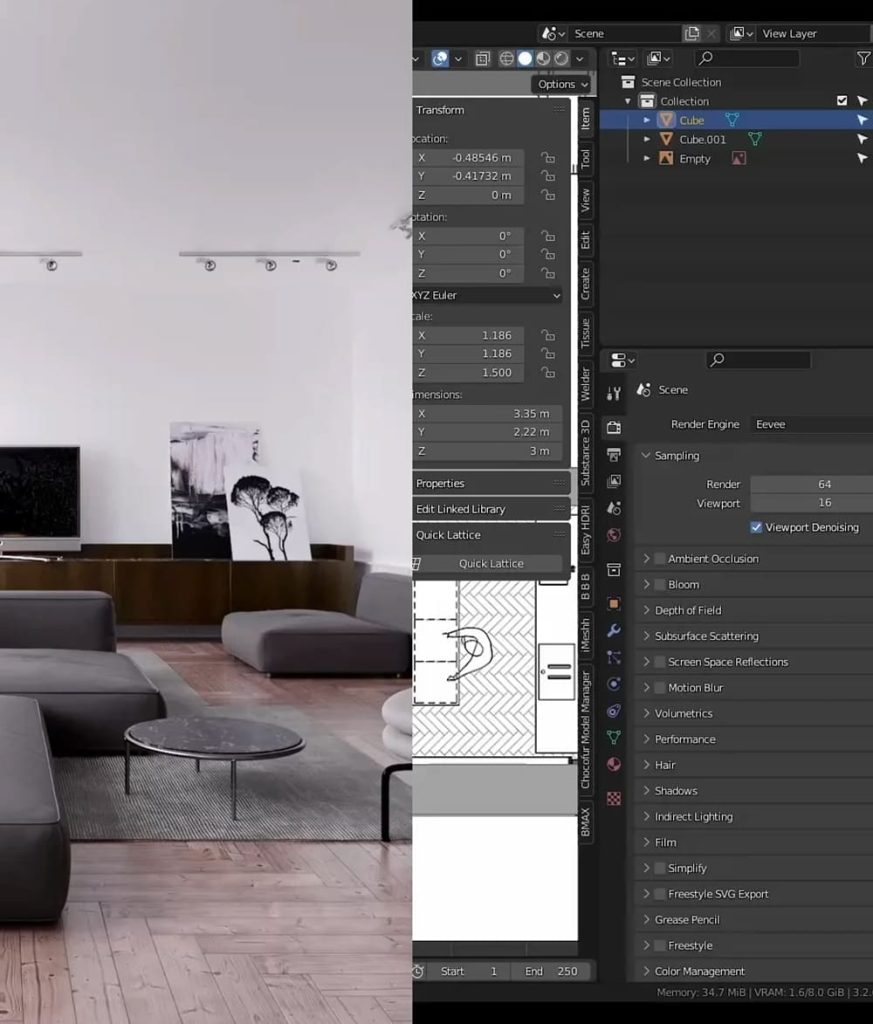
These handy Blender shortcuts could transform your 3D texturing workflow. Blender is one of the best pieces of 3D modelling software(opens in new tab) around, and unlike its competitors it’s available to download completely free. And while it has a bit of a reputation for being tricky to use, its most recent version, 2.80(opens in new tab), is much more approachable, and there are loads of Blender tutorials(opens in new tab) out there to help you master its tools.
Even experienced Blender users can benefit from a few tips to speed up their workflow, though. To help your texturing process along, here are ten of the most useful shortcuts; once you’ve committed them to memory you’ll be able texture at warp speed!
Local View – Numpad /
This hides everything except the selected object while still being independent from the regular Hide function, so you can for example have only one object you’re working on in one area and the whole scene in another.
Zoom to Selected – Numpad ,
Almost standard, working without it doesn’t seem very enjoyable to me. It centres the screen on the selected object or, when in Sculpt Mode, on the spot where you placed your last brush stroke.
Maximise Area – Ctrl + Space
Maximises the size of the area you’re currently hovering over. Very useful when you’ve got plenty of areas open (timeline, references, shading editor) and want to concentrate on the model itself for once.
Circle Select – C
Turns the cursor into a circle brush that lets you ‘paint’ a selection of faces, vertices or edges. This is very useful when you want to quickly isolate certain parts of the mesh for selective unwrapping or assigning vertex colours.
Grow/Shrink Selection – Ctrl + +/-
This enables you to grow (+) or shrink (-) the current face selection radially in all directions. Especially when you’re dealing with cylindrical objects, this comes in handy by being able to let you ‘wander’ the selection across the model.
Pin UV Vertex – P
When you’re in UV Edit Mode, you can pin certain vertices to let them be fixed if you unwrap the model again. Further unwraps will then consider their position. This is very useful for cleaning up UV coordinates.
Flip Brush Colours – X
This lets you switch between the two active colours in Texture or Vertex Paint Mode, just like in Photoshop. When you’re figuring out contours between two colours, this is especially useful and speeds up your work.
Free Rotate – R + R
If you’re about to place leaves or other random stuff without a particle system and want to quickly alter their rotation, just hit R twice and you can nicely rotate the object trackball-like. That way randomising becomes easier.
Walk Navigation – Shift + F (Blender 2.8: Shift + ^)
A very cool feature in Blender is the Walk Navigation that lets you move around in your scene with the camera like you would in a first-person game. You can move with the WASD keys and even jump.
Select Linked under Cursor – L
When you have separated your mesh with seams (Ctrl+E), you can select the individual islands in Face Selection mode with L while hovering over them. This makes selecting larger pieces very fast.


